
Case Study: Leaking Welded Saddle Joint Repair on 150mm Steel Pipe at Pumping House
A challenging repair in Malaysia sees a 150mm steel pipe connected to a pumping house leaking from both ends of a welded saddle joint successfully sealed. The application involved an innovative repair method of using Wrap & Seal Pipe Burst Tape to build a rubber ridge up and over the 20mm step between the line and the joint.
Case Study Overview
Site Pumping house
Location Malaysia
Repair Type Live leak repair
Defect Leaking saddle joint on a 150mm steel pipe with a 20mm step
Repair Products
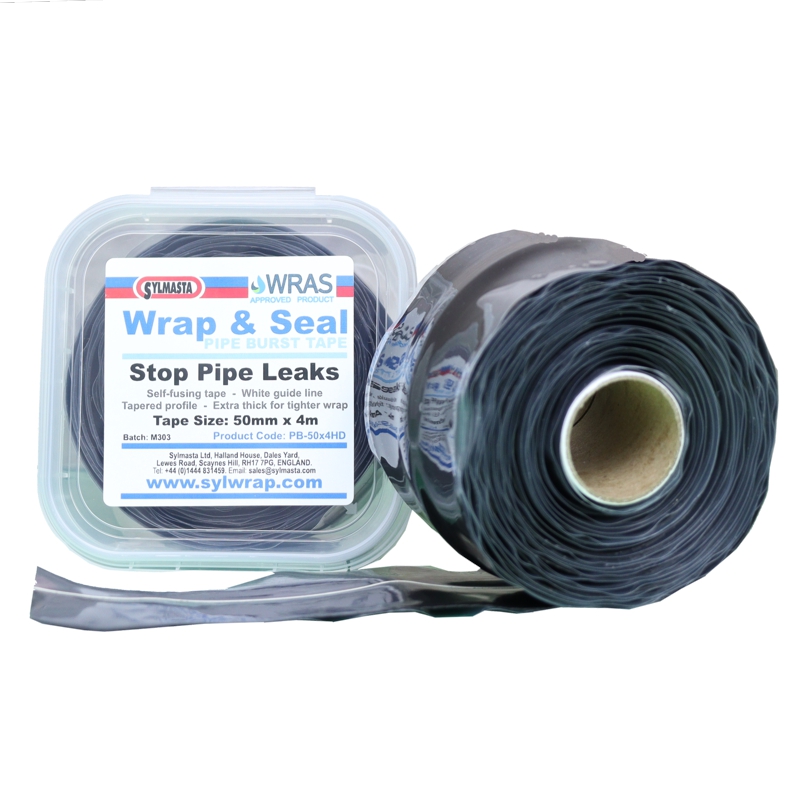
Wrap & Seal Pipe Burst Tape
Case Study PDF
Case Study Details
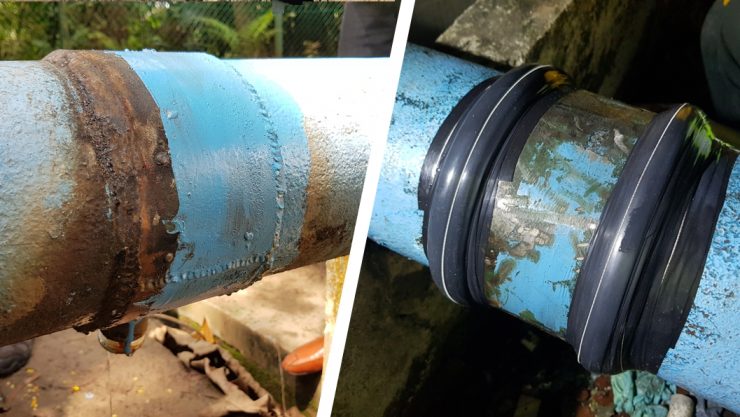
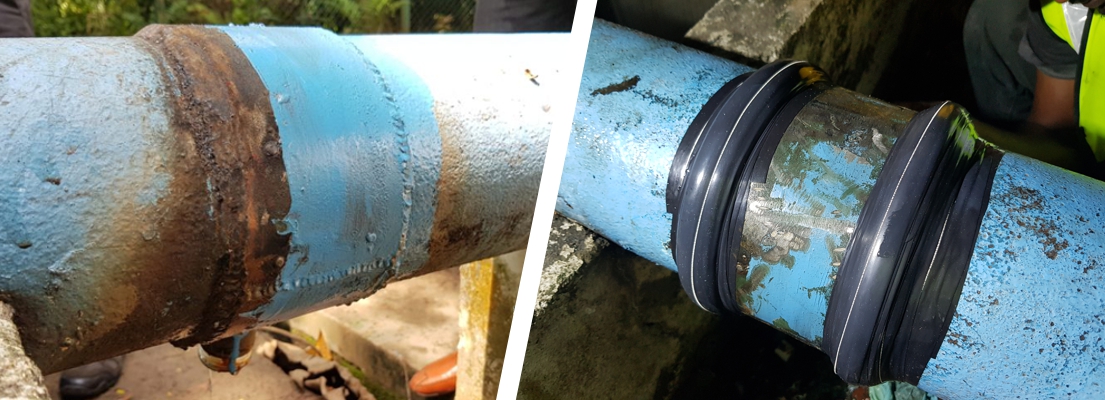
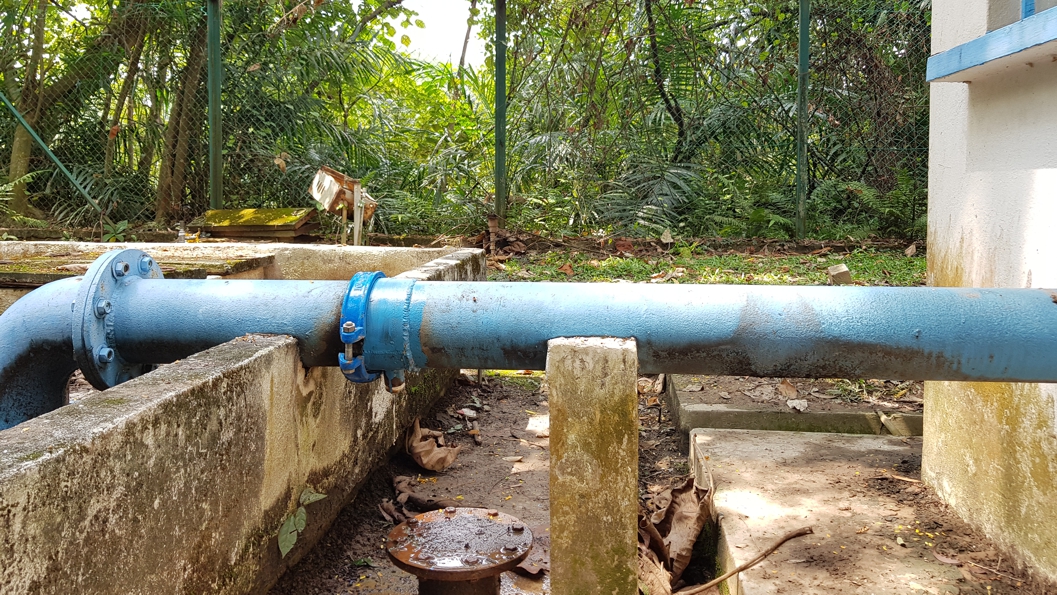
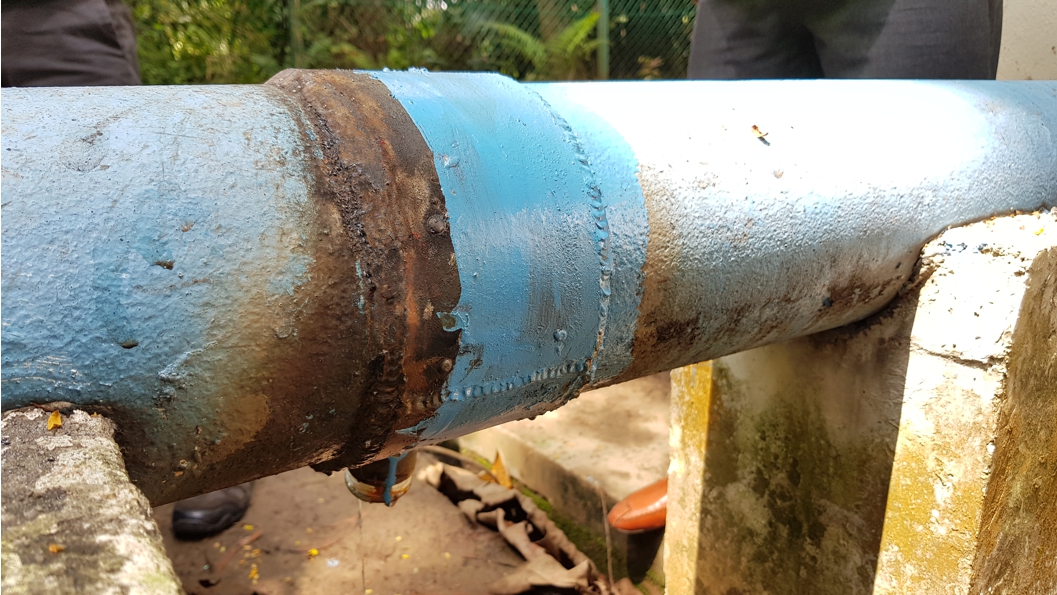
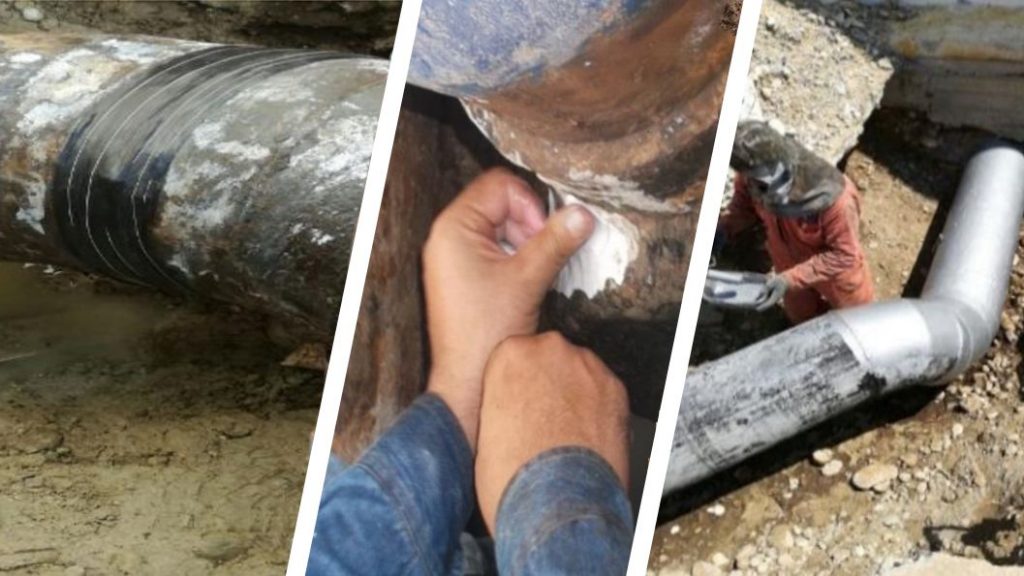
The 150mm steel pipe ran water out of the pumping house. The saddle joint had been welded in place to reinforce a capped tee and sat approximately 20mm higher than the original line. One end of the joint was suffering from heavy corrosion.
Water had been found seeping from both ends of the joint, leaving the pipe surface noticeably wet and the ground beneath the pipe sodden. The pipe could not be isolated or replaced because this would involve shutting down the pumping station.
Several repair attempts had been made using different methods by the water company operating the facility, including the use of a clamp and epoxy putty, but none had been successful. The pipe had therefore been left to leak.
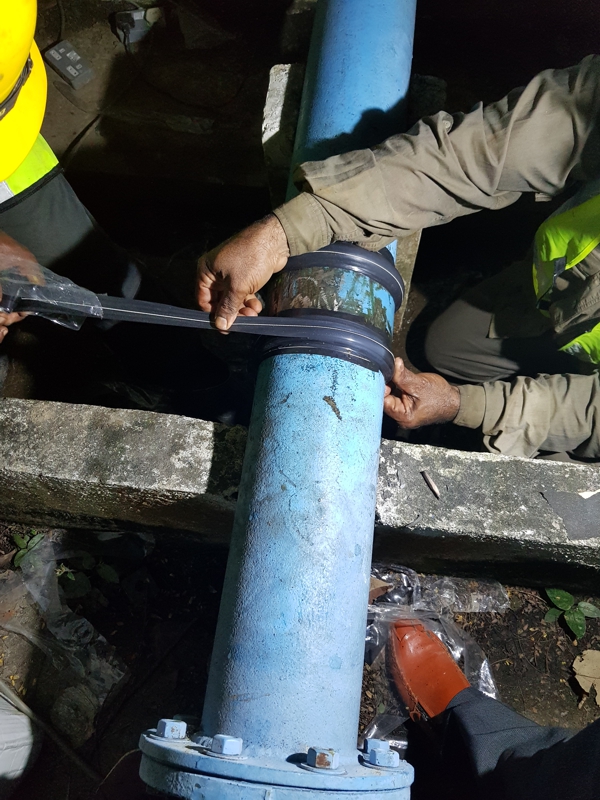
Whilst on a visit to Malaysia, a technician from Sylmasta was asked to accompany a engineering team to inspect the pipe and see if a solution could be formulated.
They recommended using Wrap & Seal Pipe Burst Tape to start a repair on the original steel pipe and build it up and over the weld, encompassing and sealing either end of the saddle joint.
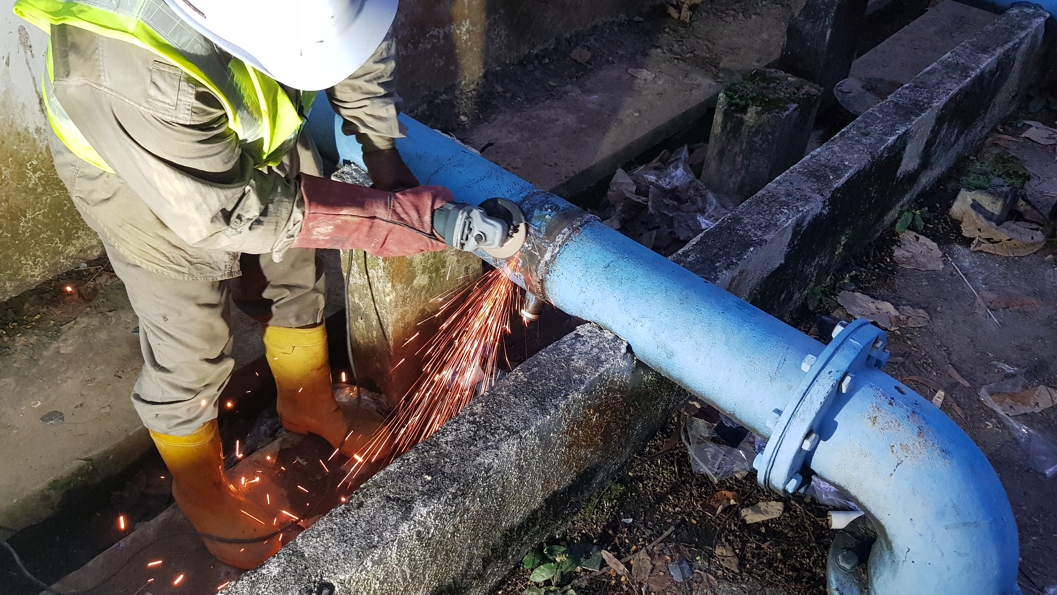
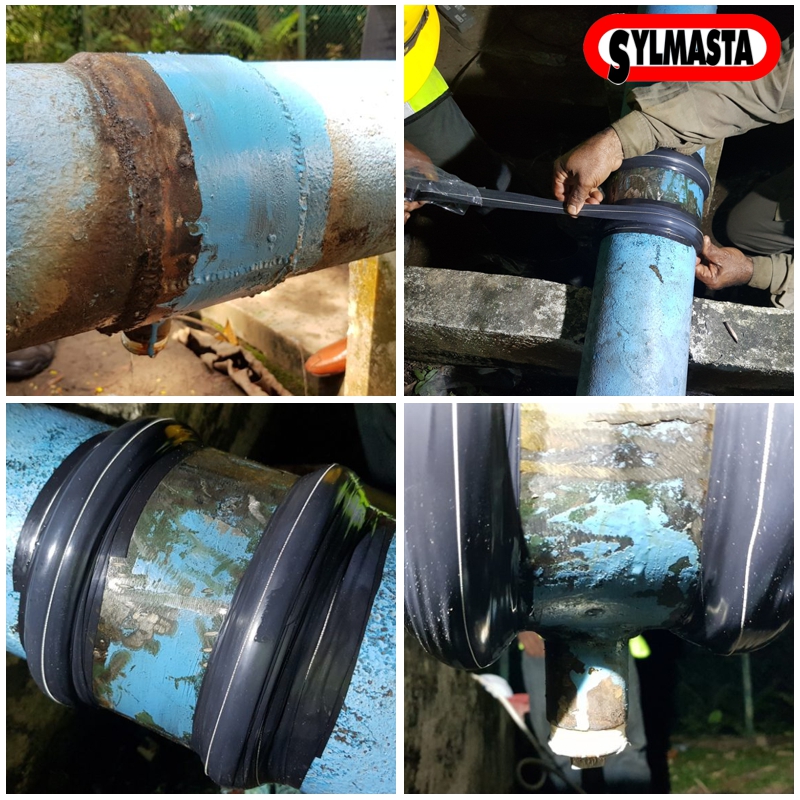
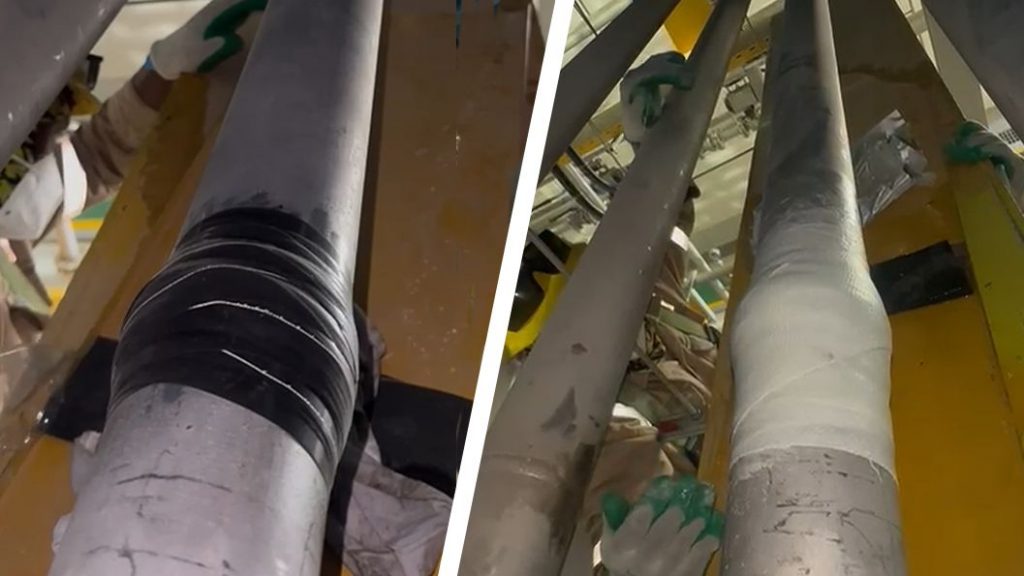
First, an angle grinder was used to sand down the pipe, clean it of loose material and remove corrosion. A first Wrap & Seal Tape was then applied directly next to the step.
Wrap & Seal is self-amalgamating and stretches by three times its length, fusing together to form a solid rubber band.
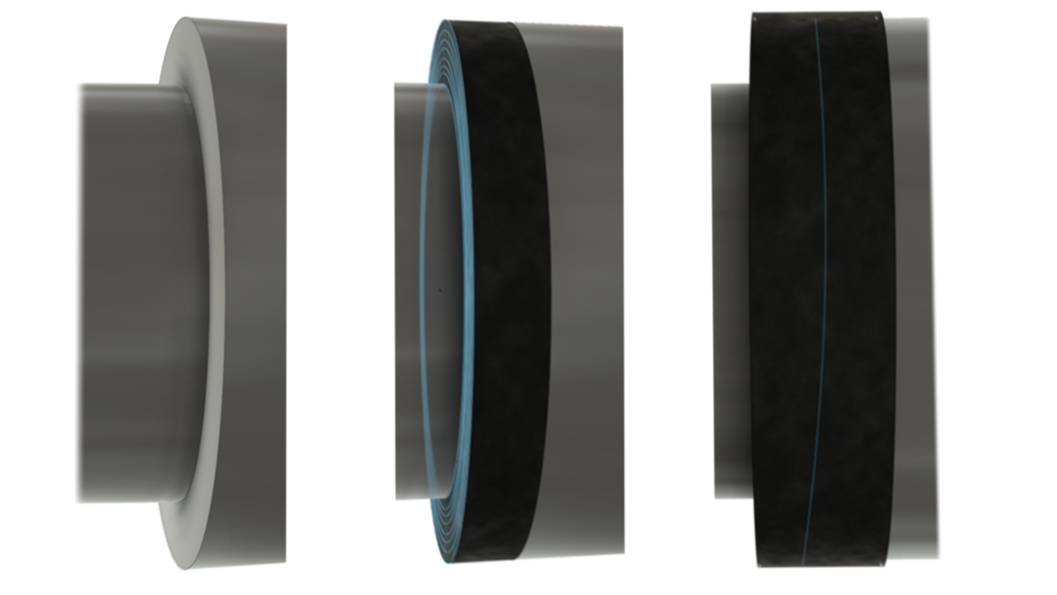
With each rotation, the Tape moved closer to being level with the top of the saddle joint. The application continued until enough Wrap & Seal had been applied to bridge the 20mm step between the pipe and the saddle.
Once this had been achieved, Wrap & Seal was applied 50mm across the saddle to achieve a good connection. It was then returned to directly over the edge of the joint.
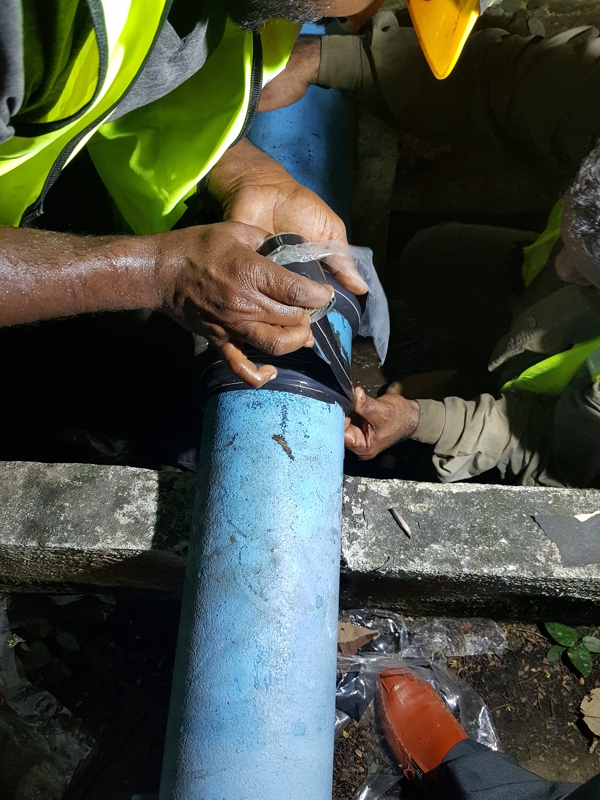
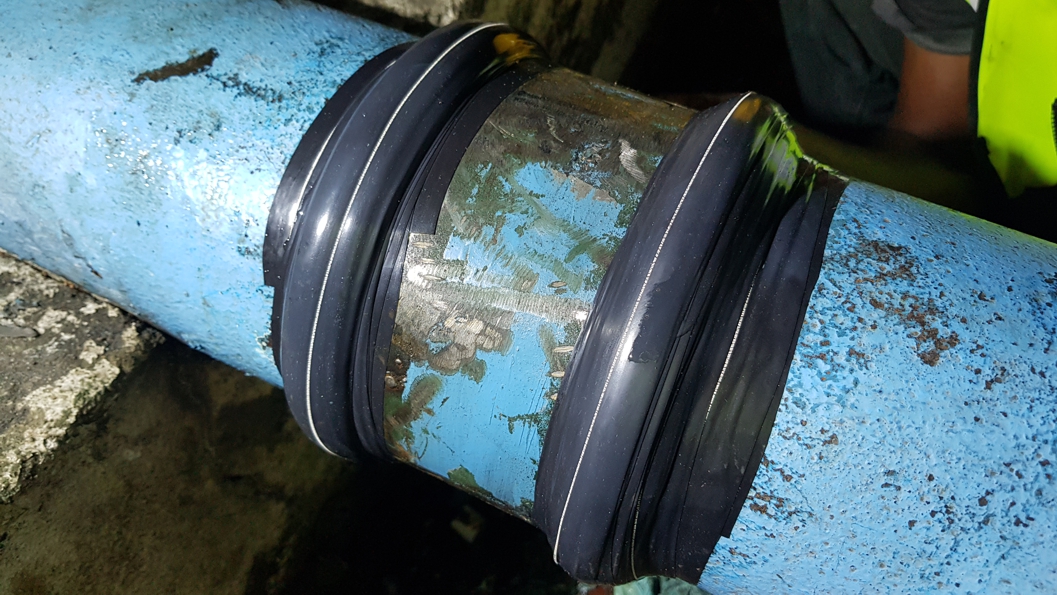
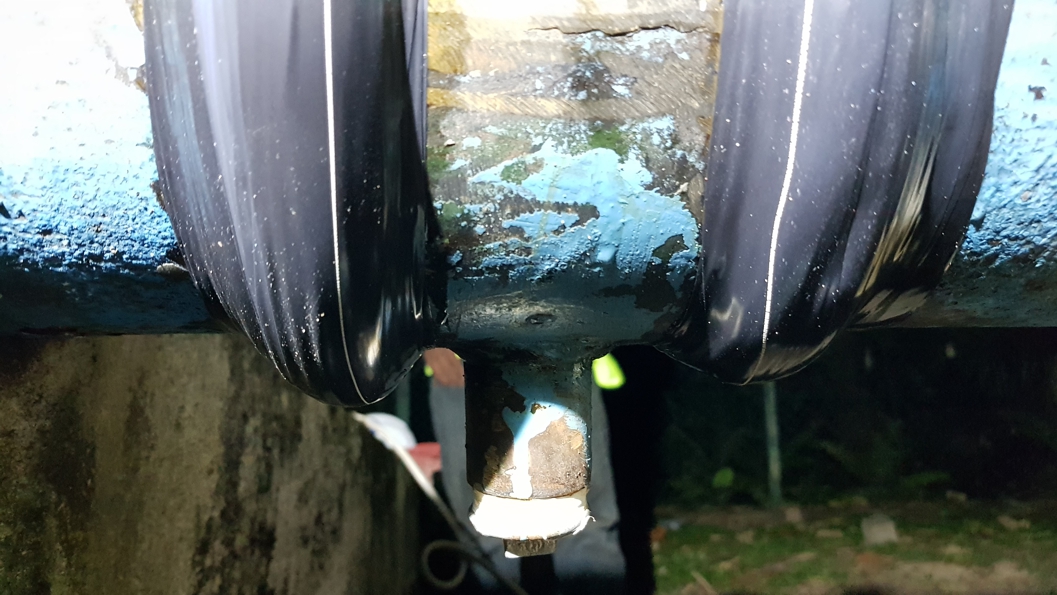
Here, a ridge was created directly over the leak area to increase the pressure resistance of the repair. It was estimated that three Wrap & Seal Tapes needed to be used to seal one end, after which the process was repeated at the other end of the saddle joint.
Because the leak had been seeping water slowly, the only way to check whether the application had been effective was to inspect several days later. When the pipe surface was found to be dry, the welded saddle joint repair was deemed a success.
Products Used
Wrap & Seal Pipe Burst Tape
Self-amalgamating tape which formed a solid rubber ridge over the leaking weld
Related Case Studies
Case Study: Leaking 3 Bar 300mm Steel Methanol Pipe Repair at Saudi Arabia Chemical Plant
Case Study: Major Pipe Repair & Strengthening Programme at Mexico Wastewater Treatment Plant
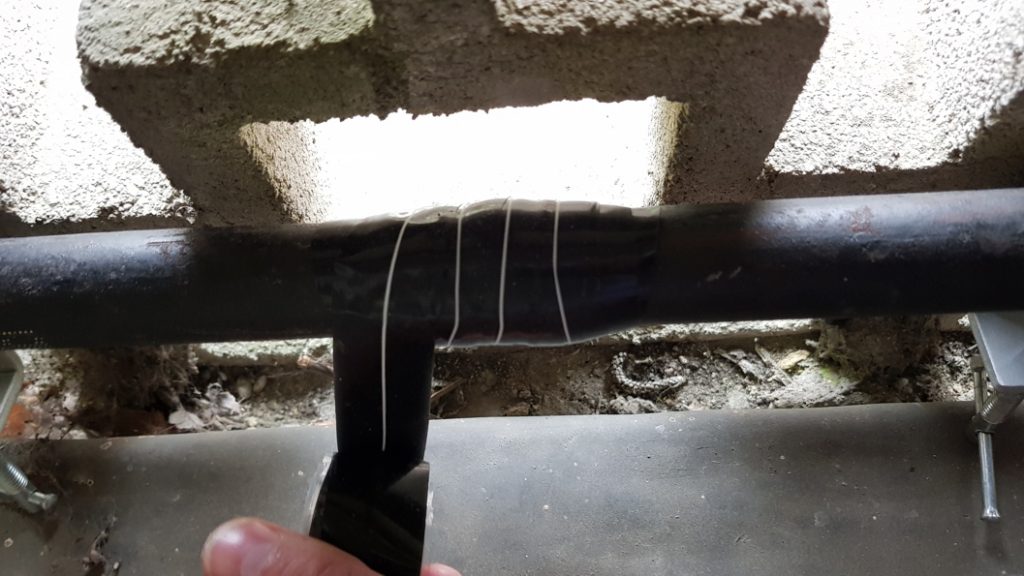
Case Study: Malleable Iron Water Pipe Repair in a Restricted Space at UK Home
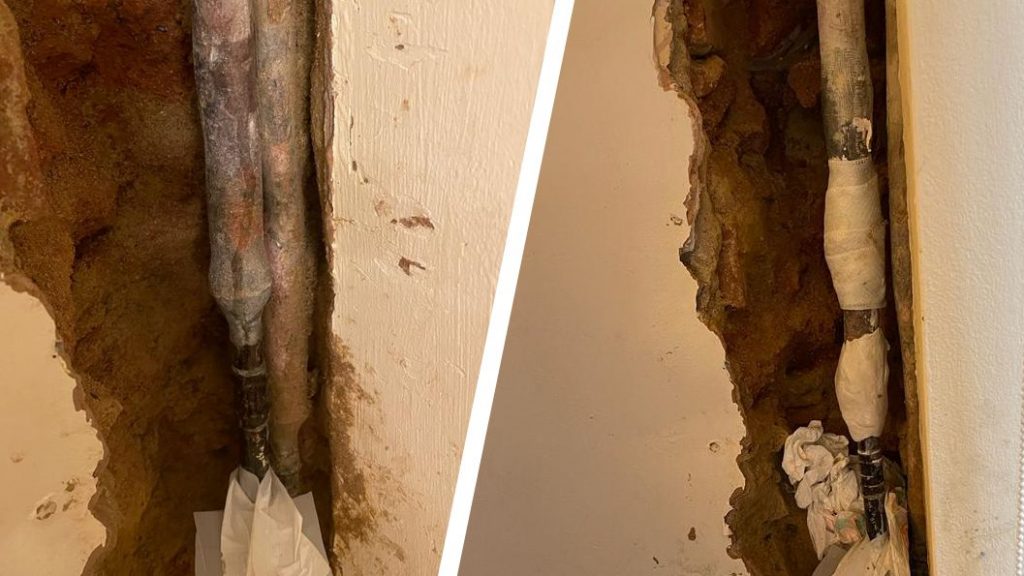
Case Study: Homeowner DIY Repair of 25mm Lead Water Pipe Leaking Inside House Wall

Case Study: Leaking Dishwasher 50mm Plastic Pipe Repair in Golf Clubhouse Kitchen

Case Study: Repair of Leaking Expansion Joint Fitted to Water Main Pipe on UK Road Bridge

Case Study: Bilge Pipe Leaking Through Corroded Welded Joint Repair On Board Superyacht

Case Study: Repair of Hairline Crack Around Diameter of Porcelain Toilet Soil Pipe

Case Study: Emergency Live Leak Pipe Repair Keeps Heating on at Nursing Home
If you have an application you would like to enquire about, then please get in touch
Call: +44 (0)1444 831 459
Email: sales@sylmasta.com